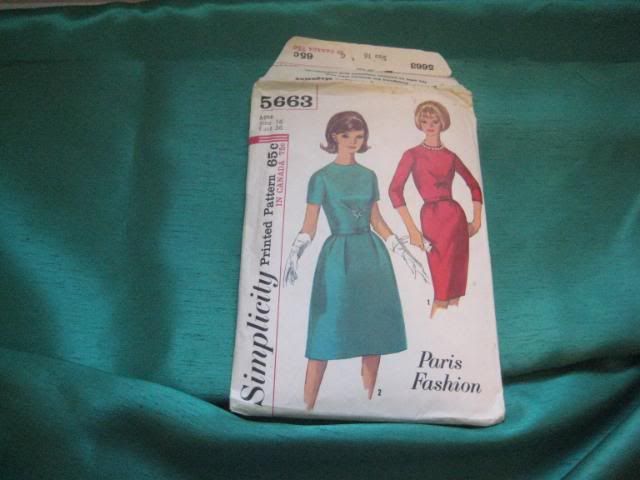
I still don't have an event in mind for this dress - maybe my Aunt's Christmas party on Sunday? Or maybe the wedding we're going to in Chicago on Valentine's Day weekend. The invite said to dress casual, which absolutely pains me. Weddings are my favorite thing in the world. I have a rule for getting dressed for a wedding - it has to be something vintage, and it has to be something I've never worn before. That makes it feel extra special. But since this wedding may have groomsmen in jeans, I best save the poufy Betty Draper dresses for another day.
After my last fitting disaster, I wasn't taking any chances. I made a muslin. I was worried about fit, since vintage pattern sizing is a little different than modern patterns, and that dart on the front looked tricky. Last time Jo-Ann's had Coupon Commotion (!!!!) Week, I bought an entire bolt of white cotton. It ended up being a dollar a yard. I cut out my pieces and got started.
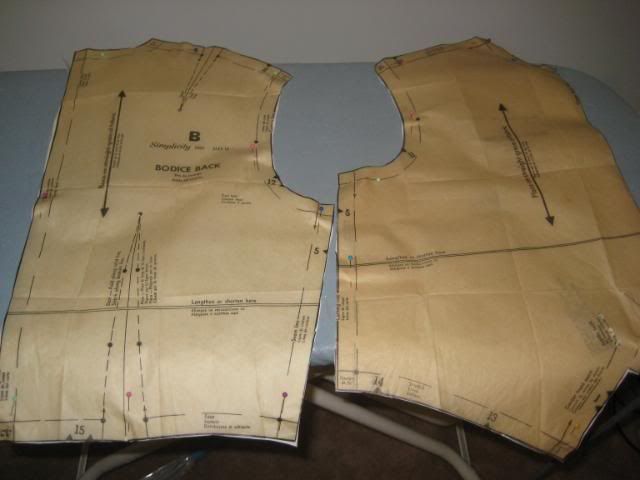
I marked the dots, solid lines, and broken lines with my tailor's pencil.
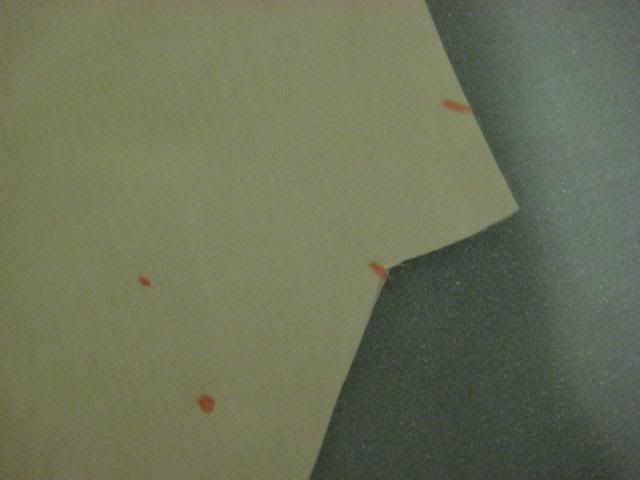
The instructions said to fold on the solid line, then sew between the dots.
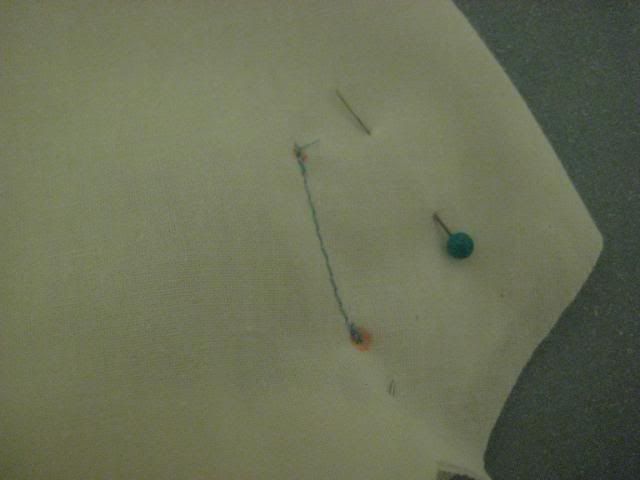
Then from the dot all the way to the bottom.
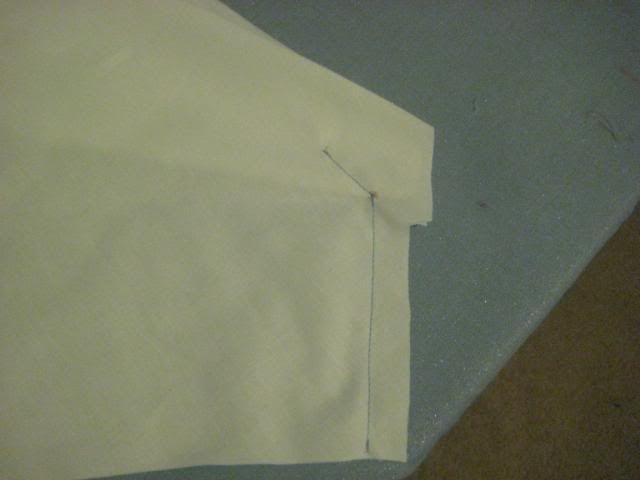
I pressed the bottom seam open, and that's it! It was done.
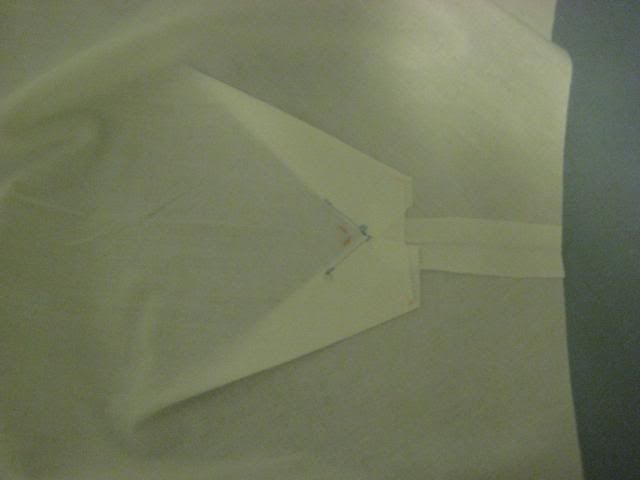
It had a dart on the shoulder:

And at the waist:

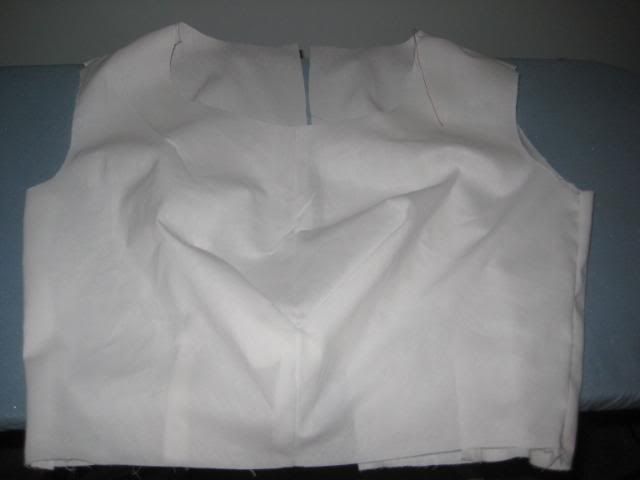
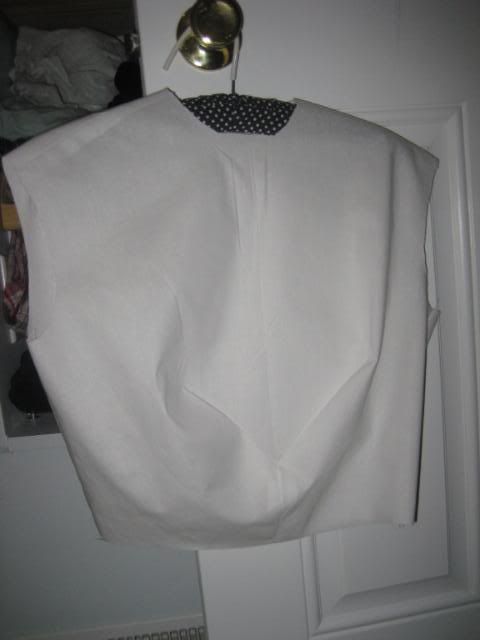
I sewed my bodice back to the bodice front, and my muslin was done:
I trimmed away some neckline and bodice back, and also a little out of the shoulders. I had long since decided against the sleeves. It's perfect now.
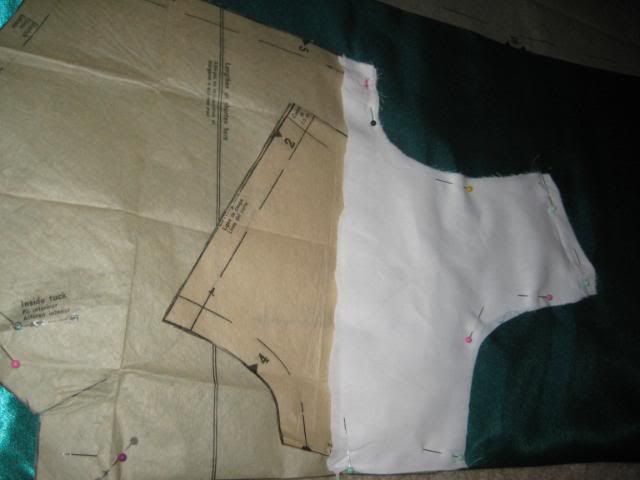
Since I didn't want to cut into my vintage pattern, I took my muslin apart and used it as the pattern. I folded down the paper pattern at the point where I had made changes, and laid my muslin on top.

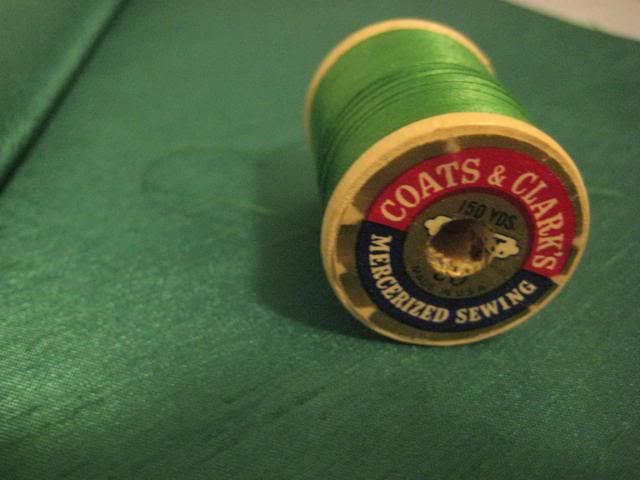
I have a confession - I hardly ever buy a new spool of thread for each project. I tend to use what's laying around. This spool of vintage Coats & Clark wasn't a perfect match, but I used it anyway.
Even though I had made a muslin, I had some issues with the bodice. I put it together so easily on the muslin, but got confused when it came to the real thing. I think I was overthinking it. The dart ended up on the outside of the fabric, instead of the inside.
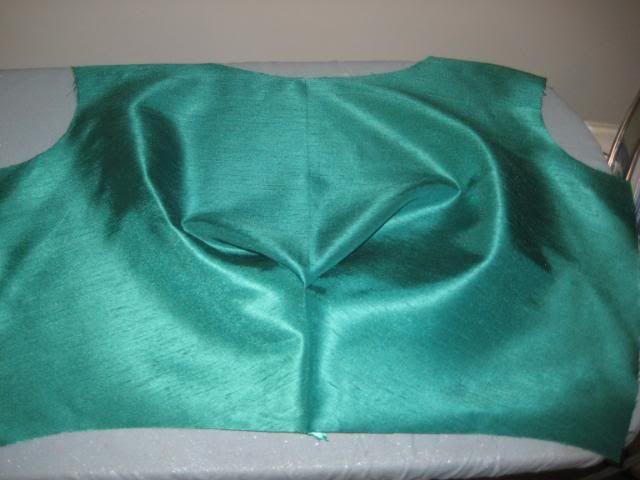
After a careful look at the muslin, I realized that I folded the bodice incorrectly. My seam on the inside looked like this, which although looks really nice and neat, is not right. Once I figured it out, it was a quick fix. I had no issues with the lining.
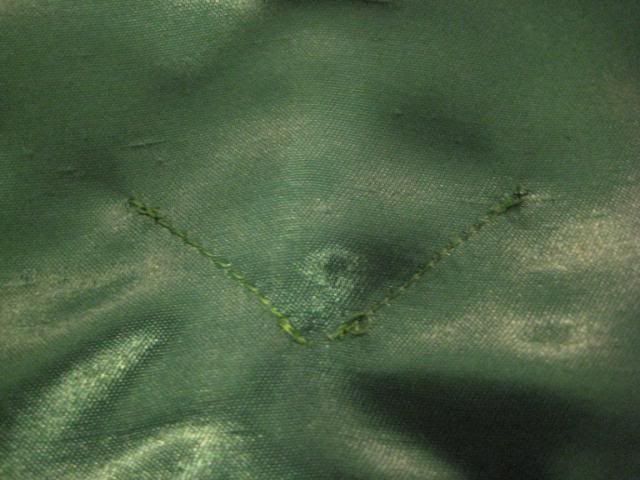
Next up I did the back darts. My orange tailor's pencil was not showing up on the smooth, dark fabric, so I used the next best thing - eyeliner. The best part is, after I sewed the dart, it rubbed right off with my finger. I think I may buy a white eyeliner specifically for sewing.

The skirt had four tucks in the front and four in the back. I attached it to my bodice and even though I made adjustments to the size, it still matched up just fine with the skirt. I'm surprised, I thought I was going to have extra fabric in the skirt to deal with.
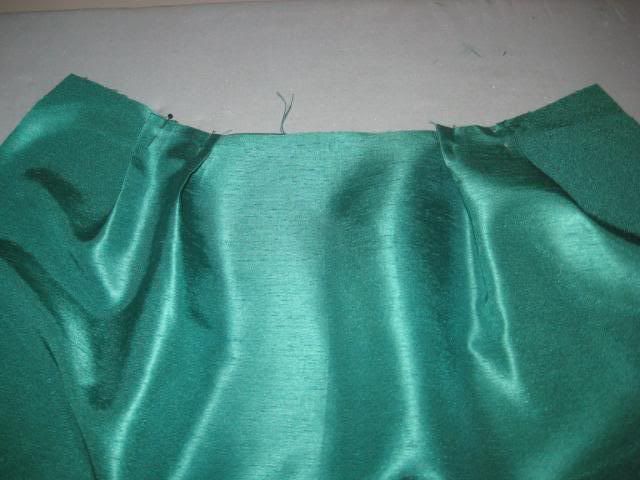
I haven't done the zipper yet because I'm waiting for the perfect one from eBay to arrive. It's a 20" kelly green Coats & Clark, and it's part of a lot of 20 I bought for $10.99.
I hemmed it by hand, and I have to say, I'm getting to be a pro at that.

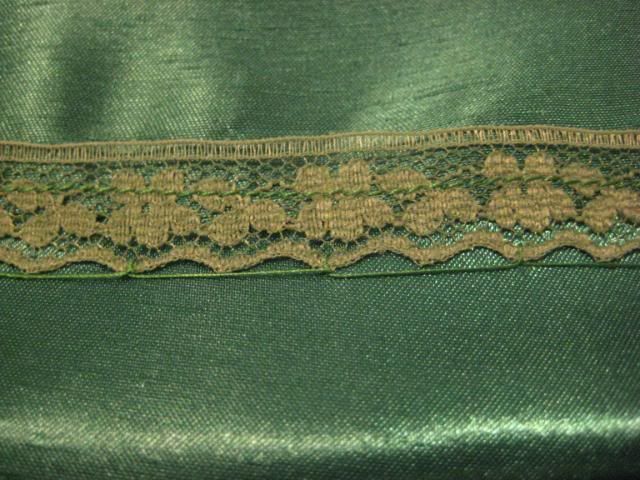
My secret is this hem tape. If you do a stitch on every other peak of the lace, you'll have the perfect hem. I will probably have to learn a new technique when this stash runs out (got four packs of dusty rose and three of denim blue left!) but for now, it works wonderfully.
Hopefully I'll get to wear it this weekend, and I promise to post a picture of it in action! The one I took of it on the hanger didn't do it justice.
I hope everyone has a merry holiday weekend!


No comments:
Post a Comment